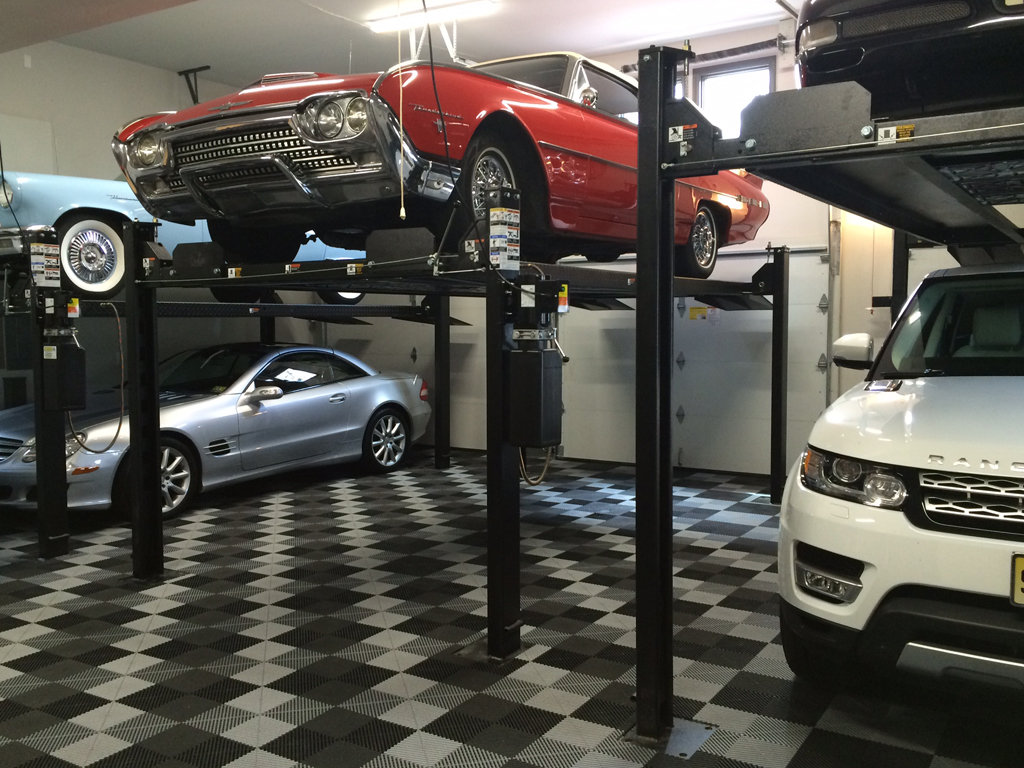
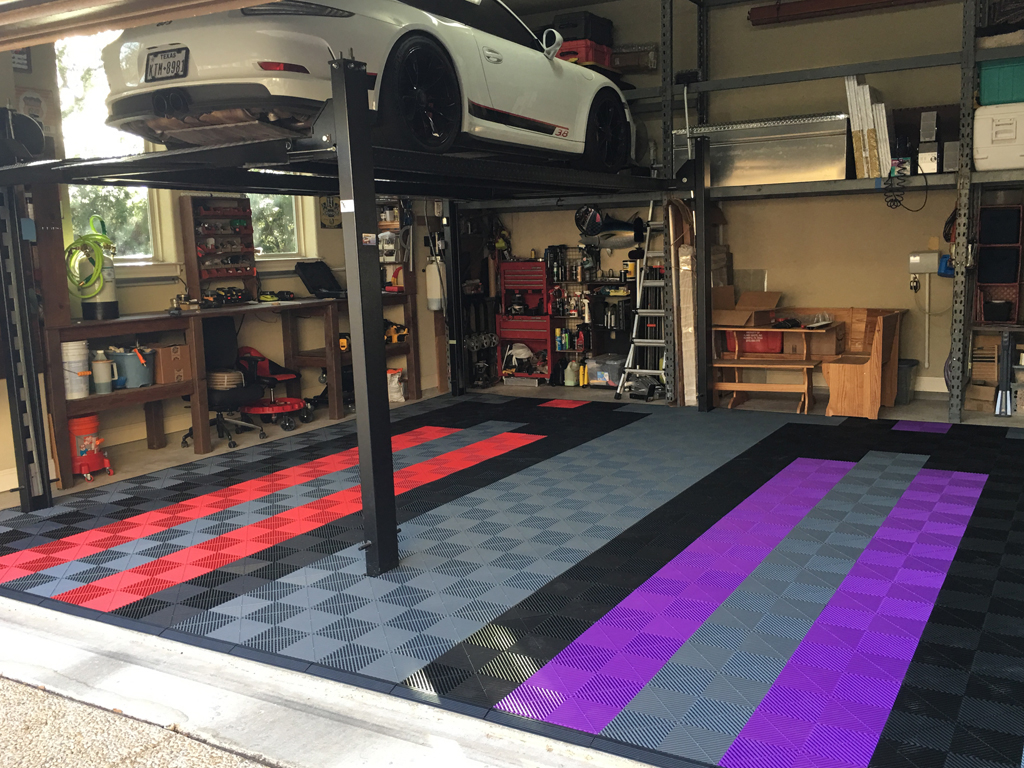
Garage Flooring with Car Lifts
In a previous post we talked about using car pads in certain situations – and one of those is when you have car lifts whether it be a 2-post or 4-post lift.
You really have two options and in this post we are going to talk about integrating your garage flooring with car lifts.
Most of the time, the car lifts have been installed prior to your flooring. When installing our flooring in your garage, you will follow our install instructions and begin interlocking the tiles from the “start point” of your space. Only when you are at the point of installing the tiles around the lift posts will you need to get your cutting tools.
A tape measure and marker are a must while we have cutting tool recommendations below. If you are marking a Jet Black tile, then a silver pen will provide more visible lines. It’s important to rotate your tile to the correct direction that it will face – ensuring that the “loops” are facing the right direction. This way, after you cut the tile, it will interlock correctly.


How close do you cut the tile to the lift post?
We’ve seen some installs where the tile cut is shaped closely to the post and we’ve seen installs where the tile surrounds the lift post but is not quite as particular in mimicking the exact outline of the post. The decision is completely yours; however, a more finished look will be to follow the outline of the lift post as best as you can. Also, this will leave a smaller amount of bare floor exposed.
Due to some natural shifts in the foundation, we recommend to leave a 1/4″ gap between Ribtrax tiles (1/2″ gap for all other tiles) and the lift post.


Ready to get started? Shop online, get a quote, or use our online 3D floor designer tool today. Or visit our main blog page for more helpful information about Swisstrax modular flooring systems.
